Most cyclists will rush to fix a broken bike chain. But will that solve the problem? It’s unlikely, so you must ask: “Why does my bike chain keeps falling off?”
These are just a few of the possible scenarios. We will also suggest a quick solution. We hope you can resolve the problem with your mountain bike chain breaking off.
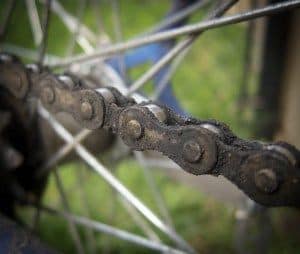
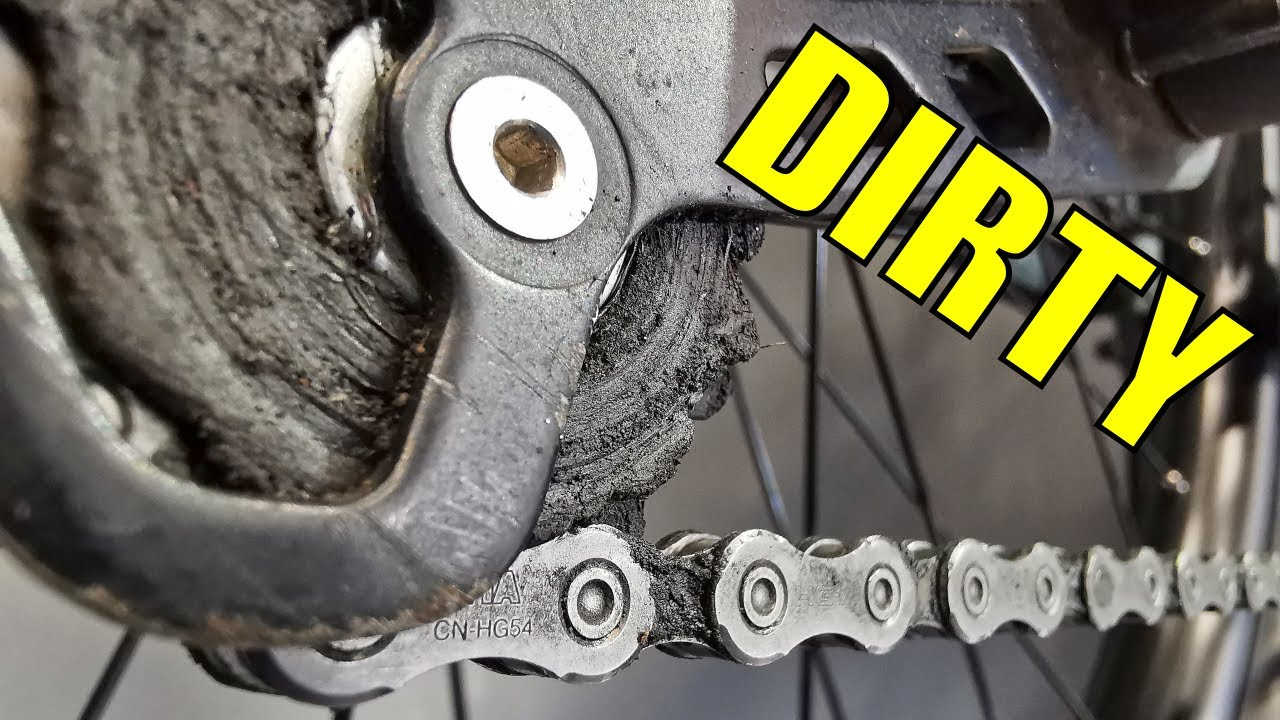
Reason 1. The chain has become clogged with dirt or grime
Your car won’t run well if your chain is dirty. Imagine how your car would perform if it had no oil change! Your bike is the equivalent of an oil change.
Dirt and grit can get into the chain parts and cause them not to move smoothly over the cogs. They don’t articulate well, so it is easier for the chains to fall off on bumpy trails.
Depending on how dirty your chain is, you may need to do a complete cleaning session using a degreaser. You can also use chain oil with a few clean clothes to clean it up quickly.
If the chain is extremely dirty, you may need to repeat this step several times.
Reason 2. Did you pedal hard when the chain fell off?
If you haven’t adjusted your derailleurs yet, and you don’t have chainrings or a long chain, there are a few possibilities.
It can be difficult to determine the source of a chain drop in this area, so you will need to inspect each item individually.
Reason 3. The rear derailleur clutch failed
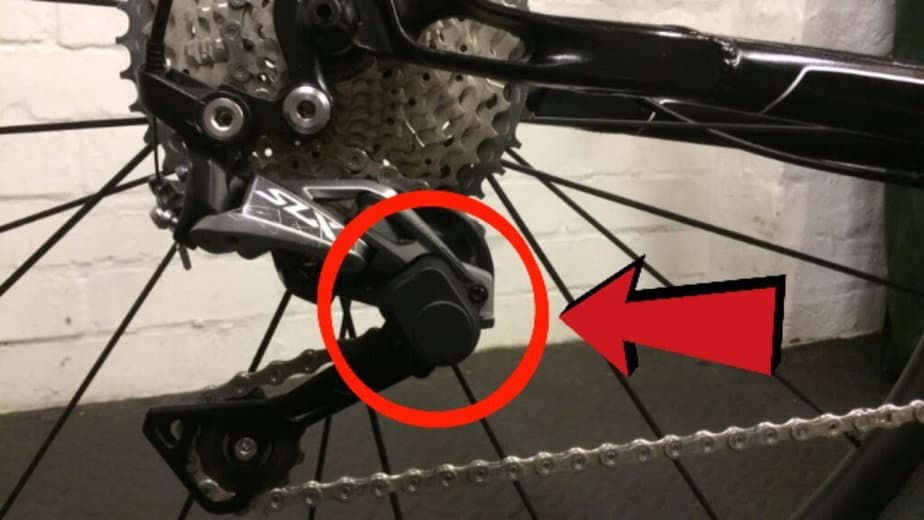
Clutches were created to adjust the tension of the rear derailleur in response to the popularity of one-by-drive trains. This allows for more tension to be maintained on the chain and prevents it from bouncing.
You may be experiencing problems maintaining chain tension due to a small part failure within the clutch.
You can get the part replaced for free if you suspect it to be true.
Reason 4. The chainring is broken, or the tooth is bent
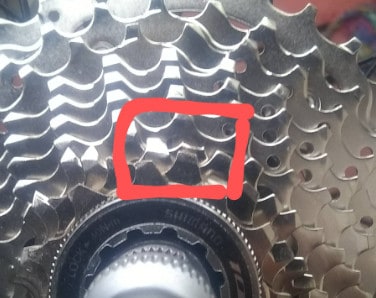
Although most cases are not as severe as this one, a bent tooth could be the source of your dropped chains.
While accidents are the most common cause of injury, a bike can tip over and strike a hard surface, which could lead to a broken chainring tooth.
Backpedaling will help you determine the distance between the frame and the chainring. If you have difficulty judging the distance between the chainring and the frame, place your hand on it and gently push something into the chainring as it rotates.
A bent ring will cause a sudden increase in resistance to your hand. Chainrings that are badly bent will show a noticeable wobble when they turn.
It’s unlikely that you won’t use them, as many mountain areas only have 1-2 chainrings. You can bend the chainring back in place with a wrench. They also make special chainring straightener tools.
You don’t have to deal with the hassle or the chainring is in bad shape; you can replace it.
Reason 5. The drivetrain has worn out and must be replaced
- How many years has it been since the last time your drivetrain was changed? If the chain slips off the back after more than 1000 miles, replace the drivetrain.
- Worn-out teeth on the cassette.
- Examine the teeth of the drivetrain cogs. It’s time to replace teeth that have become hooked or shark-tooth.
- This is often more evident in the gears that you use most.
- Although it is possible to replace individual cogs occasionally, it is usually more cost-effective and practical to replace the whole cassette.
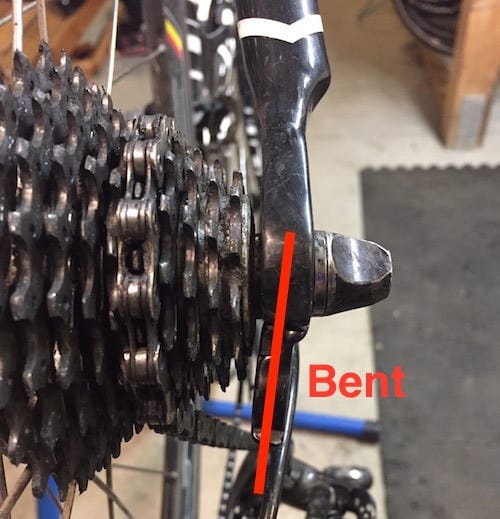
Reason 6. The rear derailleur hanger has been bent

The red stripe indicates the bent angle of a derailleur hanger.
To check if your rear derailleur hanger has been bent, inspect it. It should be parallel to the cogs and not bent inwards.
You can manually align it using a wrench or other tool.
This could lead to the hanger breaking, so keeping a spare is a good idea.
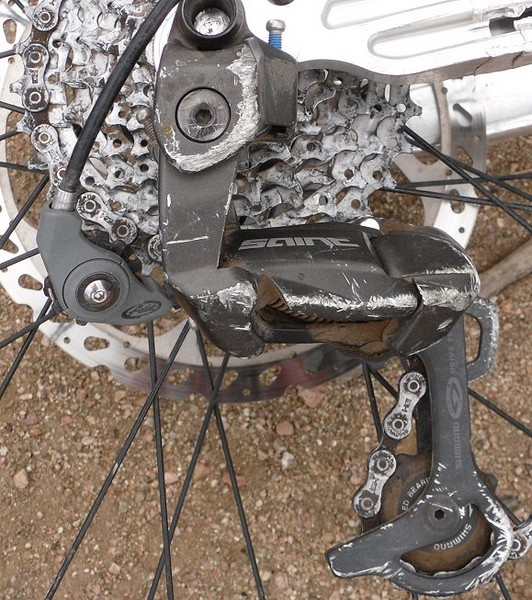
Reason 7. The derailleur(s), must be cleaned
The derailleurs will not function as well as your chain if it is extremely dirty. To remove any buildup on derailleurs, spray a brush with a degreaser.
To get rid of any gunk or residue, use hot soapy afterward to wash away any degreaser.
The cleaning process will be completed with a final freshwater rinse.
Reason 8. The rear derailleur has gone out of alignment.
The rear limit screws are circled in red.
Poor alignment can lead to noisy shifts and chain drops in extreme cases of misalignment.
Limit screws limit how far the derailleur can move inwardly and outwardly. They stop the chain from getting into the frame or spokes.
This is not something you want to do on a ride.
How to adjust the rear derailleur
- Before you make any adjustments, shift your chain onto the largest front-chainring and the smallest rear cog.
- Keep clicking the rear shifter until it reaches its smallest cog.
- Next, turn the barrel adjuster counterclockwise for a few turns. This will allow the cable to flex so the limit screw and shift positions don’t conflict.
- Two screws are used, one labeled with “H” and one with “L.”
- Use a screwdriver to tighten the “H” screw. Turn it counterclockwise for a quarter turn. This should cause the chain’s second-smallest cog to rub against it and make a noise.
- Slowly loosen the “H” screw by turning it clockwise in quarter-turn increments until the noise stops during pedaling. For now, ignore any noises coming from a front derailleur.
- Turn the barrel adjuster clockwise for a few turns to tighten it.
- Adjusting the “L” screw is as easy as shifting to the second-largest front chainring and the second-largest back cog.
- Shift onto the largest rear cog. If the chain is smooth and makes no noise, the “L” screw may be too loose.
- Shift back until you reach the second-largest rear cog. Next, tighten the “L” screw by half-turn. Continue this process until the test is very loud or jumps slowly or at all when you shift to the largest rear wheel.
- Slowly loosen the screw as you did with the “H” screws. You can loosen the “L” screw by turning it in quarter turns. Then, test the speed to ensure that the largest cog is moving quickly and that the noise is minimal.
Reason 9. Did you just take a big drop, hit a big bump, or crash?
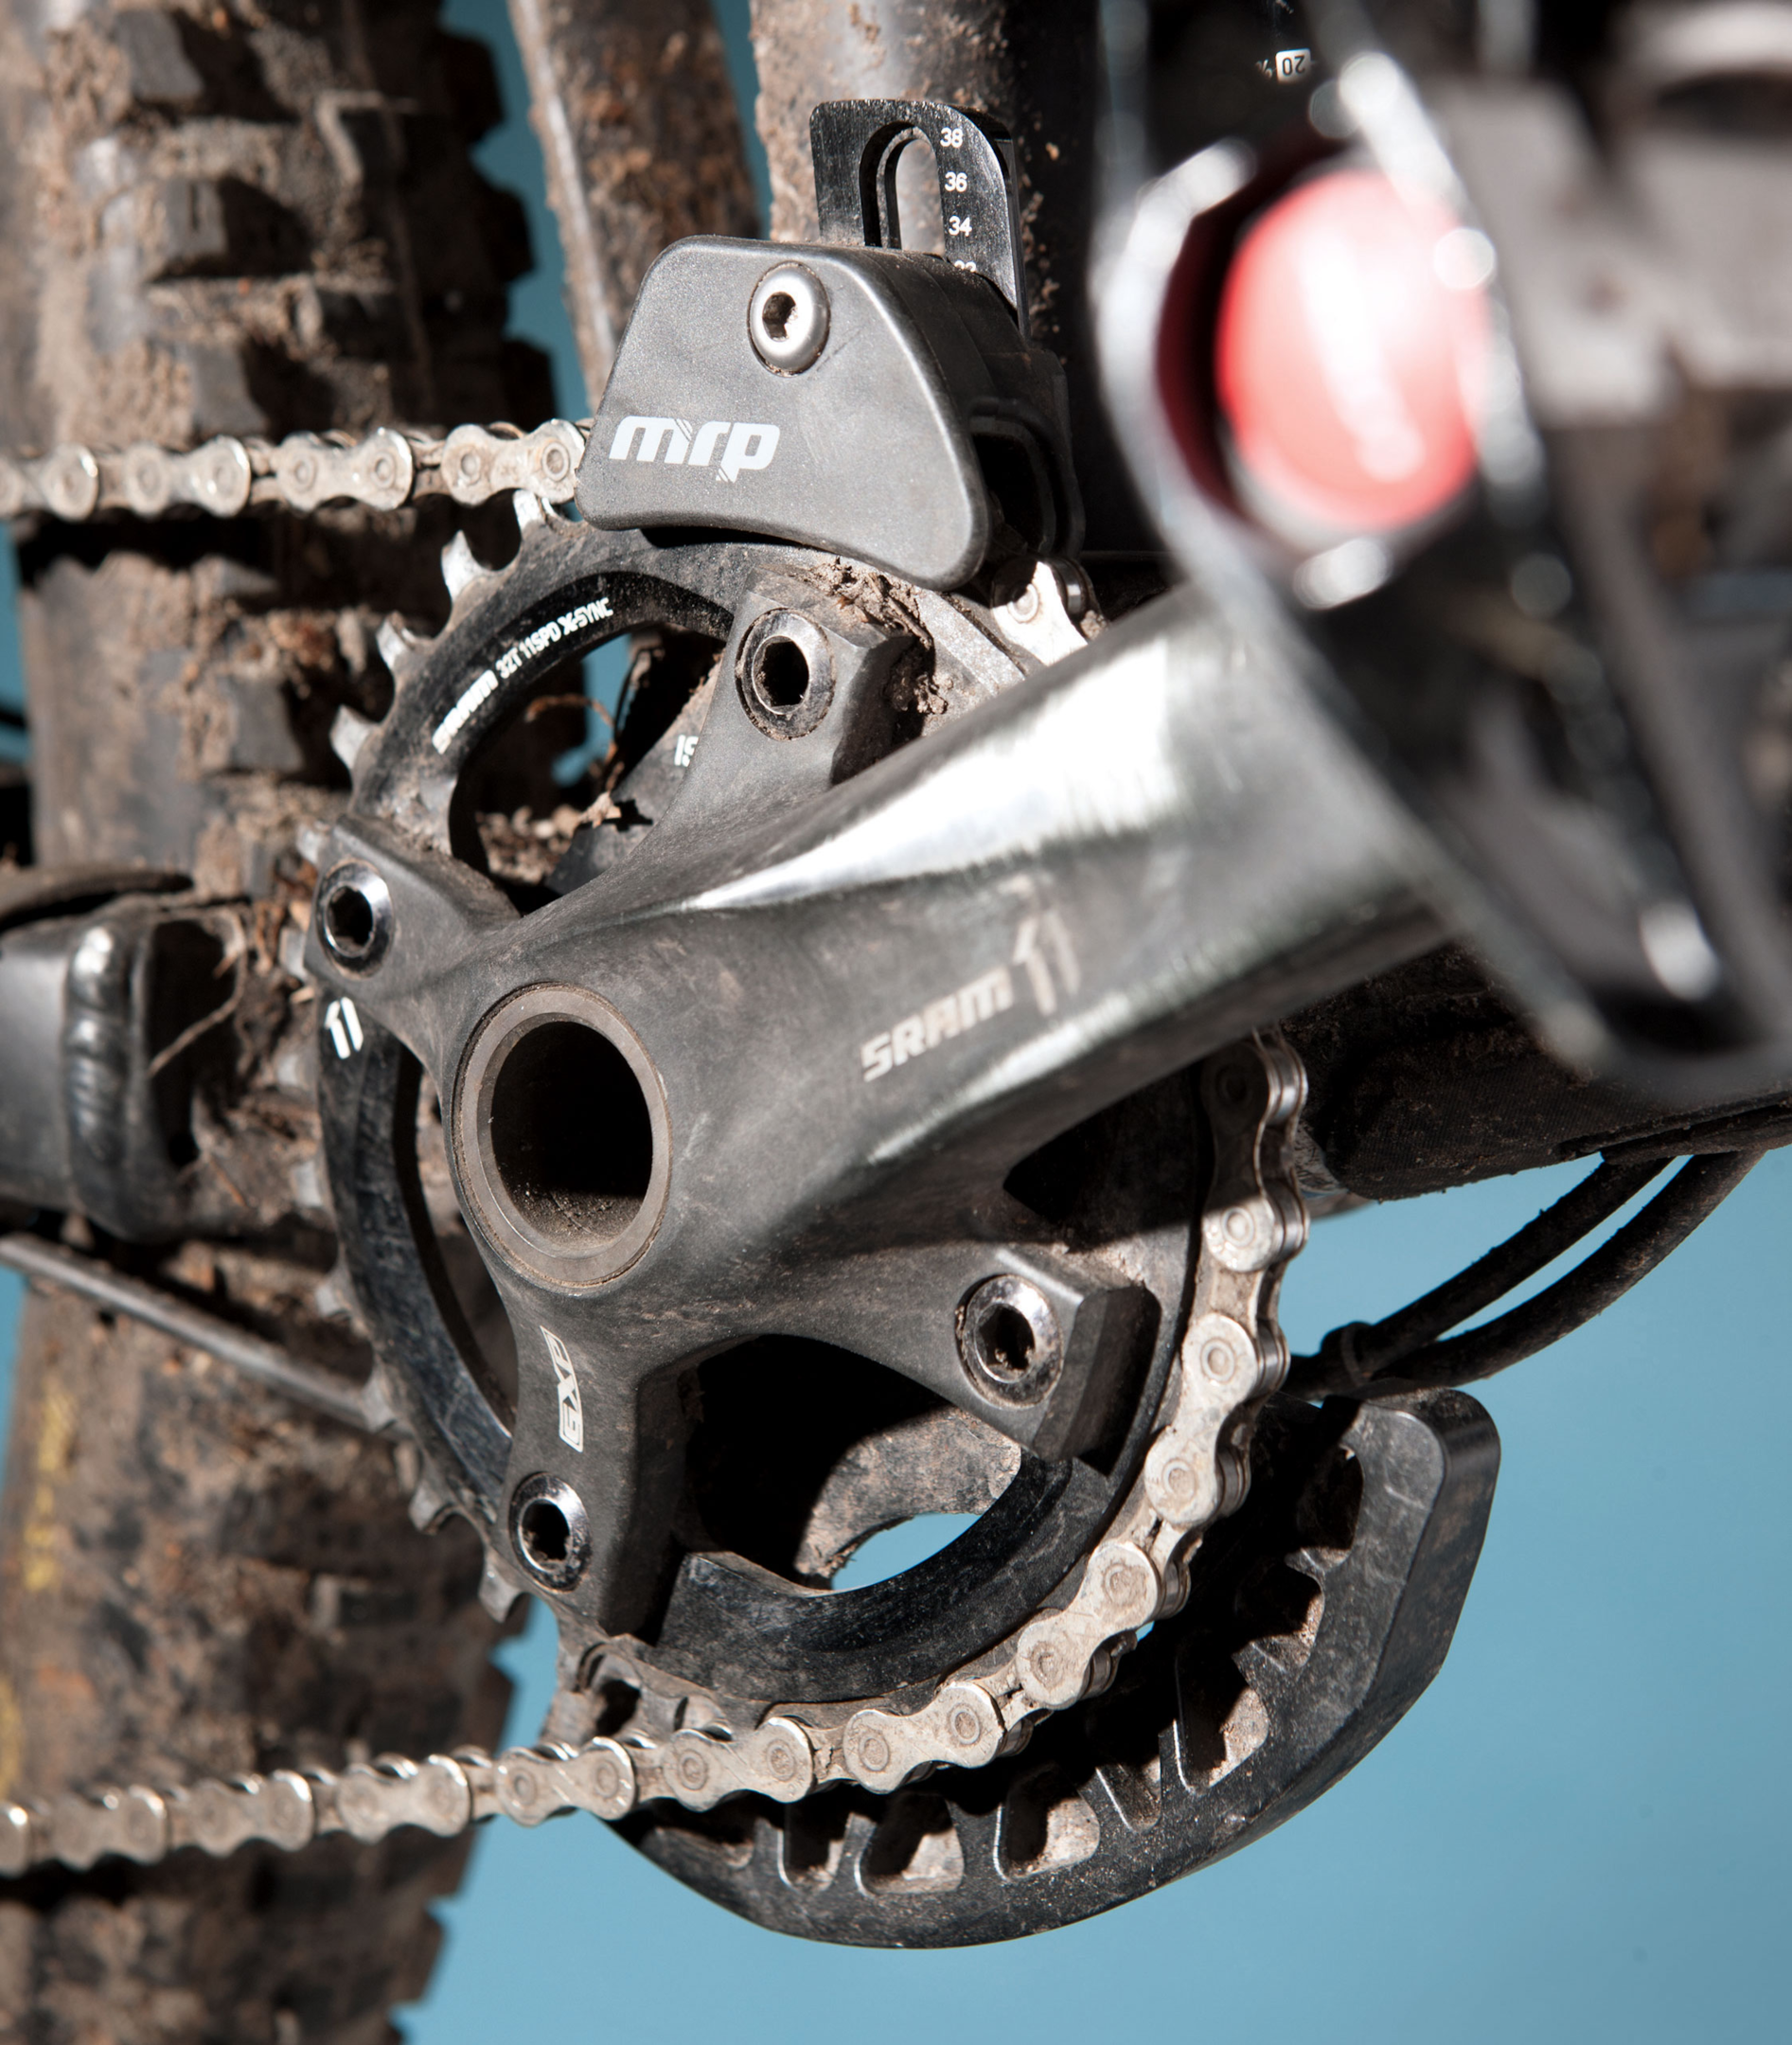
Chain guide by MRP. Check On Amazon.
You may need to install a tensioner or a guide to keep your chain in place if it has been subject to many impacts.
This is especially useful for large drops and rough downhill sections to avoid chain-slap.
A chain guide is the quickest solution. MRP creates a cage-like one, which resembles a front derailleur cage with a lower bar to stop the chain from slipping too low.
The AMg is compatible with drivetrains that use clutch-based rear derailleurs or those using other chain-retention rings and has a simple but effective design that guides your chain along the ride.
Reason 10. Did you shift and backpedal when it fell off?
First, why did you do this backpedaling? You might be getting bored while on the trail. It’s time for you to do something more challenging.
If your chain falls off while you’re backpedaling, it is likely related to the rear derailleur. To align the rear derailleur, follow the instructions in reason #8.
After that, you should also check that the rear derailleur hanger is not bent, as stated in reason #6.
Reason 11. The chain has been stretched

Chain checker tool in action using the 0.75 sides.
Chains don’t stretch, but they do elongate. As the chain’s internal components wear down, this happens.
Chain wear or elongation is easy to check if you have a Chain tensioner (see below). Two sides are common for tools. One side is marked with “0.5”, and the other with “0.75”. These labels indicate whether the chain has been stretched 0.5% or 0.75% beyond its original length.
To measure against the roller accurately, place the hook end on the 0.5 sides of a link. Let the other end of your tool fall and check if it can fall into the gap between the next roller.
It’s a good sign if the chain doesn’t fit into the check. This means your chain has not stretched more than 0.5% and should not be replaced. If it fits in, it has stretched 0.5%.
Reverse the tool and test the 0.75 sides. If the tool can slip in, it indicates that your chain is at least 0.75% longer. The decision to replace your chain for numbers below 0.75 depends on the number of rear wheels.
- If you have 11+ rear wheels, replace the chain at 0.5%
- If you have less than 10 gears, replace the chain at.75%
- 1.0% or more – Replace the chain if you have either a single-speed or two-sprocket bike
If the chain is stretched or worn out, replacing it with a new one is best.
With the Park Tool CC-2 chain checker, you can quickly and accurately assess the condition of any bicycle chain. To get an accurate reading, insert the Chain Checker pins into the two links and lightly press the swing arm gauge.
Reason 12. Keep an eye out for rust.
It could be rusty if your chain is prone to falling off your mountain or road bike. To keep your chain in top condition, you will need a high-performance lubricant such as the WD-40 Specialist Bicycle Wet Chain Lube. Use a rag to clean the chain correctly from the rusty links before you apply. Then you can apply your lubricant. You may need to wait for the lubricant to settle fully before pedaling.
Reason 13. Incorrect Chain Length
Many bike enthusiasts make the mistake of buying a chain that is too long or too short for their bikes. A short or too-long chain will not allow the bike to move easily. It is important to be aware of the length of your chain. You may need to move the rear derailleur if it is too short. You should remove the chain if it is too long. This could also explain why your mini-bike’s chain keeps breaking off.
Why should you stop pedaling when the chain falls off?
The most important thing is to know what to do in the event of an accident. You shouldn’t damage your frame or other components as long as you don’t stop spinning. You may have to stop spinning on uphills. In these cases, you must react quickly and get off your pedals.
If the chain is not removed and you continue to pedal, especially with force, the chains can become stuck between the crankset’s frame and the crankset. Or worse, it could even cut into the frame. This might damage the paint on a steel frame. It can also damage aluminum and carbon frames. Depending on the condition of the chain, it can cause damage to the frame by bending or breaking the chain.
Now that we’ve covered the 13 most common reasons for your bike chain falling off, we hope you have the information you need to make a quick diagnosis and the knowledge to fix the issue. Now let us discuss the popular questions about the dropped chain.
If none of the above helped, contact your local bike shop.
FAQ bike chains Drop
These are the most frequent questions to ask if your chain is constantly slipping or dropping.
How can we prevent my chain from slipping?
Regular maintenance checks on your bicycle and replacements of broken chains should be done regularly to reduce the chances of dropping them and make it a more enjoyable ride.
How often do we have to replace my bicycle’s chain?
It is recommended to replace your bike chain every 2000-3000 miles for maximum cycling efficiency. Bicyclists may extend this and replace the chain every 5000m or so when cycling.
What are drivetrain bolts, and how do they work?
The drivetrain bolts on bicycles form part of the drivetrain system. The drivetrain bolts, or chainring bolts, attach the front chains to the crankset.
Is the chain of the bicycle broken?
Depending on the problem, a bicycle chain may fall off the front or back.
What is a chain tool?
Chain tools, also known as “chain breakers,” can be used to both remove an existing chain and put together a link for a new one. Chain tools come in various forms, including as a multi-tool for bikes.
Conclusion
Of course, there are many other reasons why a chain can come off, but we have tried to describe the main ones. We hope we’ve answered this question exhaustively. Most bike chains fall off because they are either loose, stretched, too long, clogged, worn out, or just the wrong size.
Keeping your bike in great shape is very important, and we hope you’ll have more fun riding it daily!